

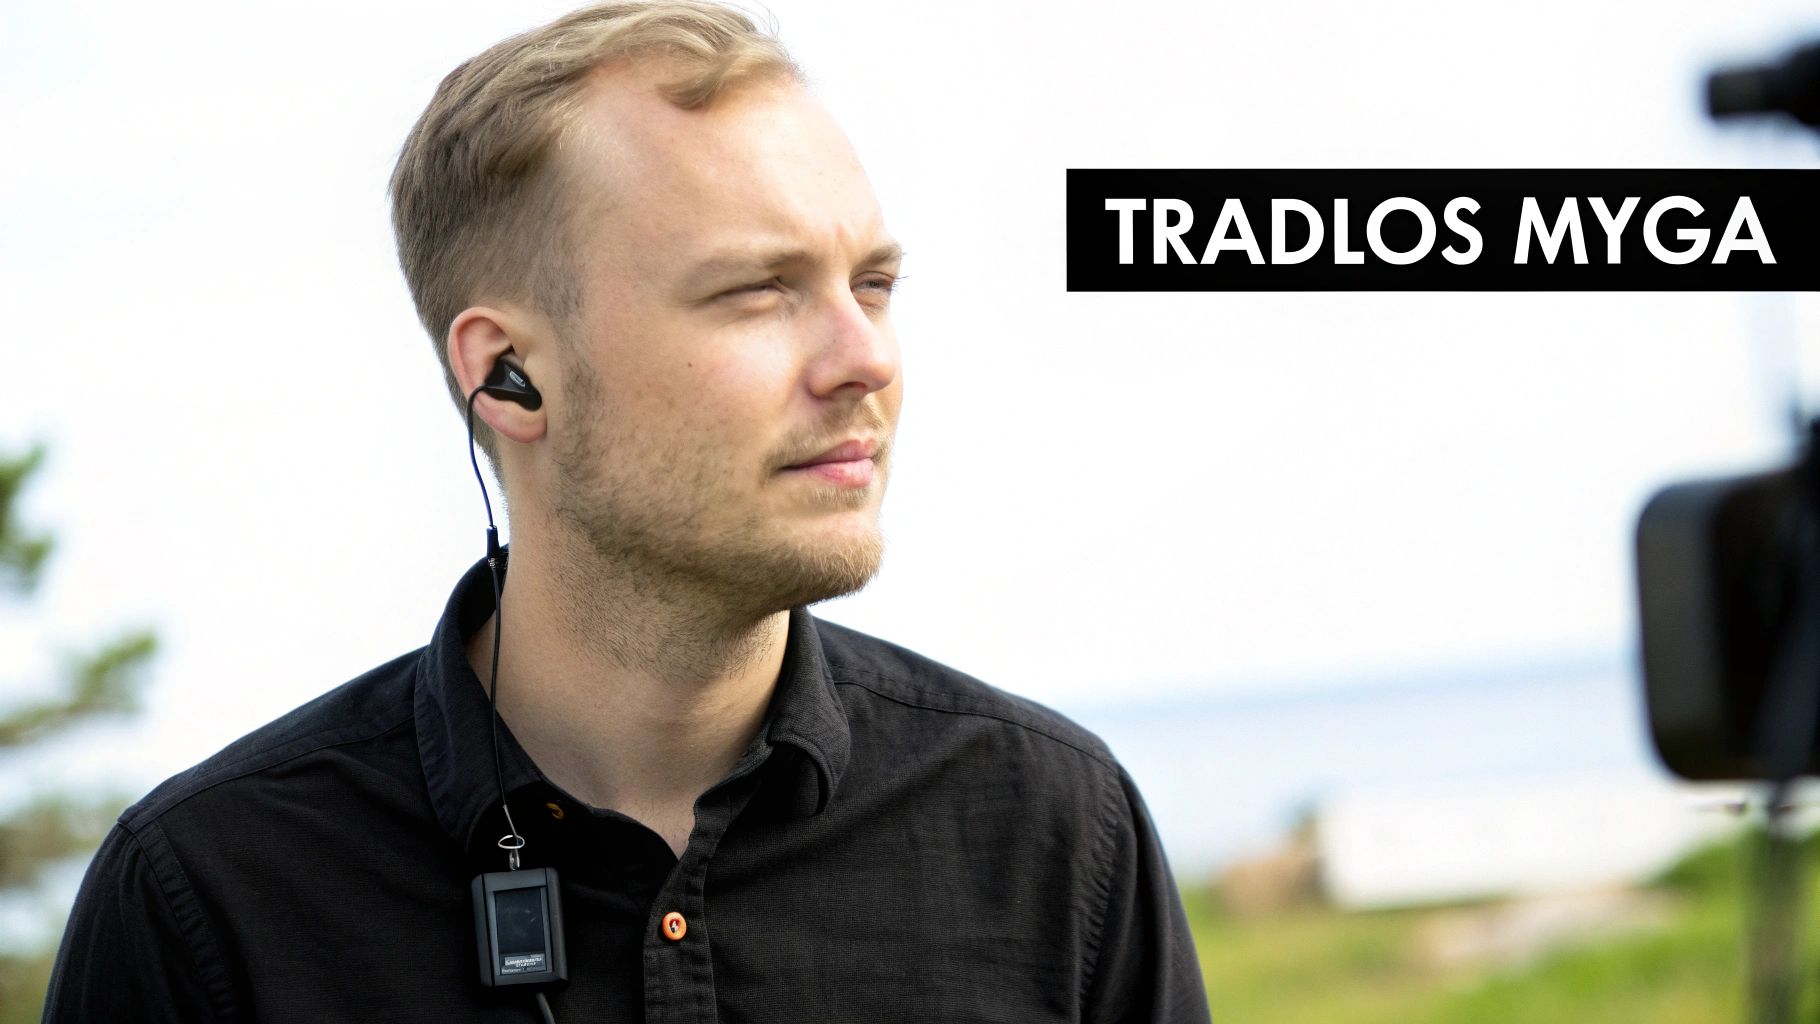
Imagine a personal sound engineer that you discreetly clip onto your shirt. Someone who captures everything you say with crystal-clear precision, completely free from tangled wires. That is exactly how a wireless clip-on microphone works – a small but incredibly powerful tool that has become a must-have for all content creators. This technology is often what separates an amateur production from one that feels truly professional.
What is a wireless lavalier and why does it change everything?
A wireless lavalier microphone, also known as a lapel mic, is designed for one thing: to record sound as close to the source as possible. You can compare it to taking a portrait photo. Using the built-in microphone on your camera or phone is like shooting with a wide-angle lens from across the room. Sure, you capture everything, but you also get a lot of surrounding noise like traffic, wind, or room echo.
A lavalier, on the other hand, acts like a zoom lens for sound. By placing it directly on the person speaking, it focuses sharply on the voice and lets everything else fade into the background. The result? Audio that is dramatically cleaner, richer, and much more engaging to listen to.
Set your creativity free
The real superpower of a wireless lavalier is the total freedom of movement it provides. Suddenly, you are no longer chained to the camera by a short cable. This opens up a whole new world of creative possibilities that previously felt impossible for many.
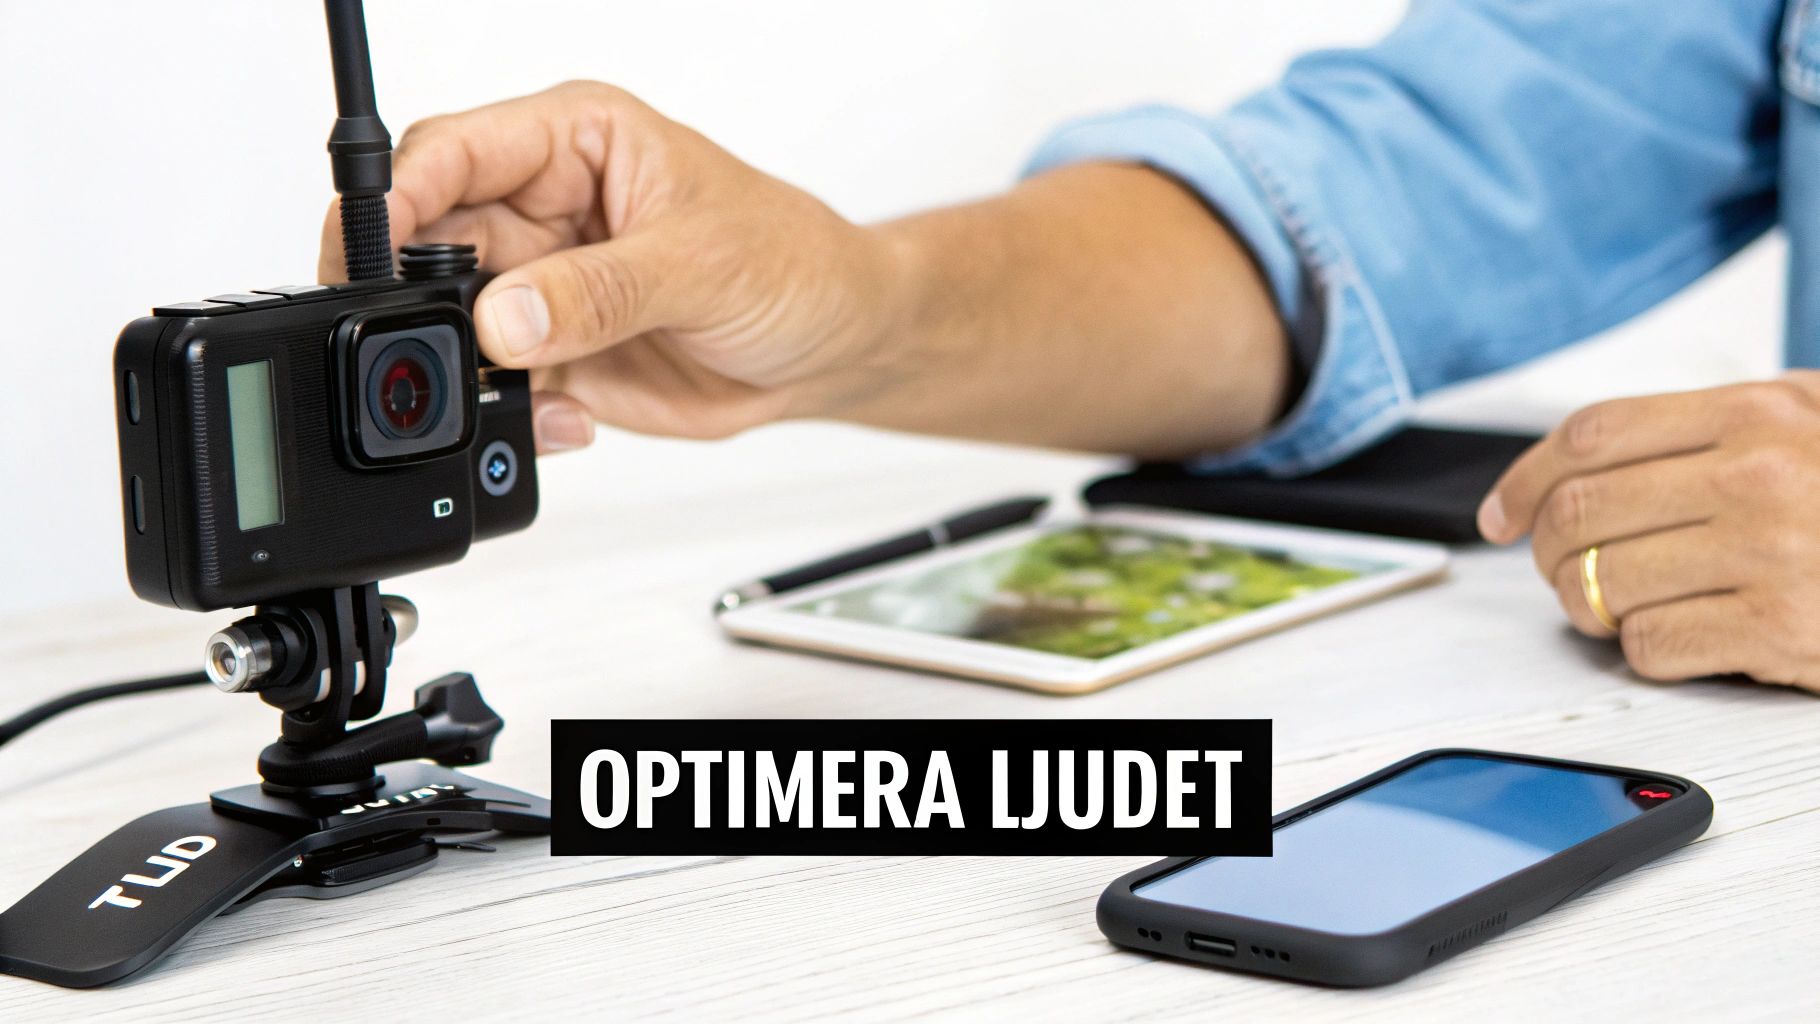
Imagine being able to walk around freely during a presentation, demonstrate a product from a distance, or film an action-packed sequence with a GoPro – all while maintaining perfect, consistent audio.
This freedom is essential in today's content creation. In Sweden, the use of wireless lavalier microphones has exploded, particularly in media production. Figures from Swedish retailers point to a sales increase of a whopping 45% between 2023 and 2025, a trend driven by podcasters and YouTubers who demand both flexibility and quality. If you want to know more, you can read about the development of wireless microphones at Billebro.se.
When is a wireless lavalier indispensable?
Investing in a good wireless clip-on microphone pays off immediately by significantly raising the quality of your productions. Here are some situations where it truly makes all the difference:
- Vlogs and travel videos where you are constantly on the go and talking to your surroundings.
- Field interviews that require both you and your guest to be heard clearly, regardless of how you move.
- Fitness and instructional videos where you need to move unhindered to demonstrate exercises.
- Action filming with GoPro or DJI when the camera is mounted on a helmet, a vehicle, or even a drone.
By giving your audio the attention it deserves, you ensure that your message comes across and that your viewers actually stay and listen.
Decoding the technology behind wireless lavaliers
Technical specifications can easily feel like a jungle, but it's actually not as complicated as it sounds. Think of it like learning the rules of the road before heading out on the highway. Once you understand what's happening under the hood of your wireless lavalier, you can easily avoid issues and record flawless audio, every time.
Essentially, it's all about a transmitter and a receiver talking to each other. The transmitter, the small box you usually clip to your belt, converts your voice into a radio wave and sends it out. The receiver, mounted on your camera, picks up the signal. For this conversation to work smoothly, they need their own free "lane" on the airwave highway – and that's where frequency bands come into play.
Frequency Bands: 2.4 GHz vs UHF
The two most common "highways" for wireless audio are 2.4 GHz and UHF. Grasping the difference between them is key to choosing the right system for your specific needs.
-
2.4 GHz Digital: This is by far the most common standard today. Think of it as a modern, global highway – it's free to use everywhere in the world and super easy to get started with. The downside? The highway is often packed with other traffic like Wi-Fi, Bluetooth devices, and even microwave ovens, which can lead to interference.
-
UHF (Ultra High Frequency): This is more like a private, licensed toll road. There is significantly less traffic here, providing an incredibly stable and reliable signal. This is why UHF has long been the standard for professional TV and film productions. The downsides are that these systems are often more expensive and may require licenses depending on which country you are filming in.
In Sweden, development has moved fast, with a clear focus on 2.4 GHz digital transmission. This is simply due to its flexibility and high audio quality. Today, over 80% of major production companies actually use this technology for everything from YouTube videos to commercials.
Here is a quick comparison summarizing the essentials:
Comparison of Frequency Bands: 2.4 GHz vs UHF
| Feature | 2.4 GHz Digital | UHF Analog/Digital |
|---|---|---|
| Global Use | License-free worldwide | May require license/frequency coordination |
| Interference Risk | Higher (from Wi-Fi, Bluetooth, etc.) | Lower (less crowded frequency band) |
| Audio Quality | Very high, often uncompressed | High, but can be affected by analog compression |
| Price | Generally cheaper and more accessible | Often more expensive, professional focus |
| Use Case | Vloggers, YouTubers, interviews, events | Film production, TV, stage performances |
In summary, 2.4 GHz systems are usually the smartest choice for most creators, while UHF is best suited for situations where zero interference is an absolute requirement.
Key concepts to keep in mind
Besides frequency bands, there are a few other terms worth knowing. They help you understand what differentiates various models and help you make a smarter purchase.
Latency, or delay, is the microscopic amount of time it takes for audio to travel from the transmitter to the receiver. For most recordings, you won't notice it, but if you're broadcasting live or need perfect lip-sync directly in-camera, low latency is crucial.
Range is exactly what it sounds like – how far from the camera you can be before the signal starts to cut out. But remember, the range stated on the box (e.g., 100 meters) is always measured under perfect conditions with a direct line of sight. In reality, a simple concrete wall, a crowd of people, or even your own body can significantly shorten the effective distance. If you want to nerd out on the technology behind it, you can read about the basic principles of FM radio frequencies, broadcasting, and range.
Battery Life is, of course, vital, especially during long recording days. Don't just check how long the batteries last, but also if the system can be powered while charging via a power bank. This can be a real lifesaver when you're out in the field. Curious about how this technology compares to other alternatives? Then check out our guide on wireless microphones via Bluetooth.
How to choose the right wireless lavalier for your project
The market for wireless lavalier microphones can feel like a real jungle. But don't worry, finding the right one doesn't have to be that complicated. The trick is to start with yourself and what you are actually going to film, rather than drowning in technical specs right away.
Are you going to record fast-paced vlogs with your GoPro, sit down for an interview, or perhaps capture audio from the ground while flying a drone? The answer to that question is decisive. A vlogger filming themselves has completely different needs than a documentary filmmaker who needs to mic up two people simultaneously.
By first identifying your purpose and your budget, you can then match the technology to your actual needs. This way, you avoid paying for advanced features you'll never use.
Define your basic needs
Before you even begin comparing different models, ask yourself a few simple questions. The answers will quickly guide you in the right direction and filter out anything irrelevant to you.
- How many people are you recording? Is it mostly just you talking? Then a system with one transmitter and one receiver is plenty. For interviews, a dual-transmitter system is a must.
- What are you filming with? A DSLRs, a GoPro, and a smartphone have completely different inputs. Double-check that the lavalier you're eyeing has the right cables and adapters, such as TRS for cameras or USB-C/Lightning for phones.
- How long are your recording sessions? Most systems have a battery life of 5–8 hours, which is enough for most. But if you film really long sessions, it's wise to choose a model that can be charged with a power bank while in use.
This flowchart shows how your recording environment plays a role in choosing a frequency band, one of the most important technical details to track.

The point is simple: 2.4 GHz systems are usually more flexible and work well in unpredictable environments, while UHF provides a rock-solid connection in more controlled situations, like a studio.
Balancing budget and features
The price tag on wireless lavaliers varies significantly, from simple entry-level models to professional systems. Competition in Sweden is fierce. A quick check on Prisjakt.nu shows over 1,200 products from giants like DJI and Rode, with an average price around 1,290 SEK. In fact, prices dropped by a full 15% during 2024, making high-quality technology accessible to more people.
The absolute most important thing is not to get fixated on the most expensive option. Ask yourself which features actually provide you with added value.
Do you really need 32-bit float recording, or is a reliable and easy-to-use system that just works sufficient? For most creators, a stable signal and good battery life are much more important than the very latest bells and whistles. By being honest with yourself, you make a smarter and more sustainable investment.
For a deeper dive into the world of microphones, you can read our complete guide to microphones here at ActionKing.
Checklist for choosing a wireless lavalier
To make it even easier, we've put together a checklist. Go through it point by point to clarify what you should be looking for.
| Question | Considerations | Recommendation |
|---|---|---|
| 1. Who is recording audio? | Is it just you, or several people at once? | One person: System with 1 transmitter. Two people: System with 2 transmitters. |
| 2. Which camera are you using? | Check the connections (3.5 mm, USB-C, Lightning). | DSLR/Mirrorless: TRS cable. Mobile/Action Camera: USB-C/Lightning adapter. |
| 3. How long are the recordings? | Do you need to film all day without interruption? | Under 5 hours: Most models will work. Over 5 hours: Choose a model with a charging case or support for charging during operation. |
| 4. Where are you recording? | In a studio, out on the town, or in nature? | Varying environments: 2.4 GHz is flexible. Interference-sensitive environments: UHF may be more stable. |
| 5. What is your budget? | What are you prepared to invest for good sound? | Beginners: Aim for entry-level models from well-known brands. Pros: Consider features like 32-bit float and internal memory. |
By answering these questions, you get a clear set of requirements. This makes it much easier to navigate the selection and find the perfect wireless lavalier for your projects. Good luck!
Connecting and optimizing your lavalier for best results
Unboxing a new wireless lavalier microphone is one thing. Making it sound fantastic is another. It's only when you connect and place it correctly that the magic actually happens. Simply plugging it in gives you sound, but truly optimizing the settings is what elevates your production from "okay" to "professional."
Here we go through the two most important steps to get you started quickly and get the maximum performance immediately: connection and placement.
Understanding your connections: TRS vs TRRS
Before you can start recording, you must ensure the microphone and camera speak the same language. Here, many encounter a small but crucial detail: the plug on the cable. The most common are TRS and TRRS, and they look deceptively similar.
- TRS (Tip-Ring-Sleeve) has two black rings on the plug. This is almost always used for DSLRs, audio recorders, and computers.
- TRRS (Tip-Ring-Ring-Sleeve) has three black rings. This standard is made for smartphones and tablets, where the extra ring is needed to handle the microphone signal.
Mixing these up is a classic mistake that results in no sound being recorded at all. Fortunately, many modern lavalier kits, like the affordable BOYA BY-WM4 PRO-K1 system, include both cables. Then you are ready for practically any device.
The golden rule for microphone placement
The absolute best place for a lavalier is almost always the same: the center of the chest, about 15–20 centimeters below the chin. This is the "sweet spot" – the perfect zone for capturing a full and natural voice without picking up unwanted "puffs" from breathing.
Think of the microphone as a small satellite dish aimed at your mouth. You want a clear line of sight, with no fabric obstructing or rubbing against it. This position also ensures the sound remains consistent even when you turn your head.
Attach the clip firmly to the collar of a T-shirt, the button placket of a shirt, or a jacket lapel. A pro tip is to make a "safety loop" with the cable just before the clip. The loop acts as a shock absorber and reduces cable noise if it moves.
Set audio levels (gain) like a pro
Finding the right audio level, or gain, is a balancing act. The goal is a signal strong enough to be clear, but not so high that the audio clips and becomes distorted.
- Start with the transmitter: Set the gain on the transmitter (the one you are wearing). When you speak in a normal conversational tone, the level meter should reach the upper green or yellow area. It should never hit red.
- Adjust the camera: Then, set the recording level on your camera or phone. A common mistake is having low gain on the transmitter and instead maxing out the level in the camera. This only amplifies unwanted noise from the camera's built-in preamplifier.
A good rule of thumb is to get a strong, clean signal from the transmitter (around 75% of max) and then fine-tune the camera's level until it sounds good, which is often a fairly low setting. Following this order ensures the best possible audio quality right at the source.
Solving common problems like a pro
Even the best wireless lavalier can run into trouble in the field. Suddenly you hear an annoying hiss, the signal stutters, or the sound just feels off. But relax, there's no reason to panic. The key is to troubleshoot systematically like a pro.
Most problems can actually be traced back to a few common causes. By understanding what to look for, you can quickly find and fix the error, saving both time and a lot of frustration during recording.
Dealing with noise and radio interference
Hearing unwanted crackling or static noise in your headphones? This is almost always a sign of radio frequency interference, or RFI. Your 2.4 GHz system is simply fighting for space with other wireless gadgets nearby, such as Wi-Fi routers, Bluetooth speakers, and mobile phones.
To solve this, try the following:
- Change the channel: Most modern systems can change frequency channels either manually or automatically. Find a less "crowded" channel for a cleaner signal.
- Turn off unnecessary devices: Turn off Wi-Fi and Bluetooth on your phone or other nearby devices that aren't absolutely necessary for the recording.
- Create distance: Move away from obvious sources of interference. Sometimes just a few meters away from a router or microwave is enough.
Another classic issue is wind noise when filming outdoors. Even a light breeze can completely ruin the audio, and forgetting protection is a real rookie mistake. The solution is simple but extremely effective: always use the included windscreen.
For windier conditions, a dedicated windscreen, often called a "dead cat," can be a crucial investment for capturing crisp and clean audio. Read more about effective windscreens for your microphone to lift the quality when the weather challenges you.
Fixing sudden signal dropouts
When the sound suddenly disappears and then returns, it's called a "dropout." This is a clear sign that the receiver is temporarily losing contact with the transmitter. The most common culprit is something blocking the signal.
The wireless signal works best with a clear line of sight. Think of it as the transmitter and receiver needing to "see" each other to talk undisturbed.
Ensure the transmitter is attached to the front of the body, not in a back pocket. If you turn your back to the camera, the signal is forced to pass through your body – one of the most effective signal blockers there is. Also, check that you are within the system's specified range and that the batteries are fully charged, as weak batteries can lead to a weaker and more unstable signal.
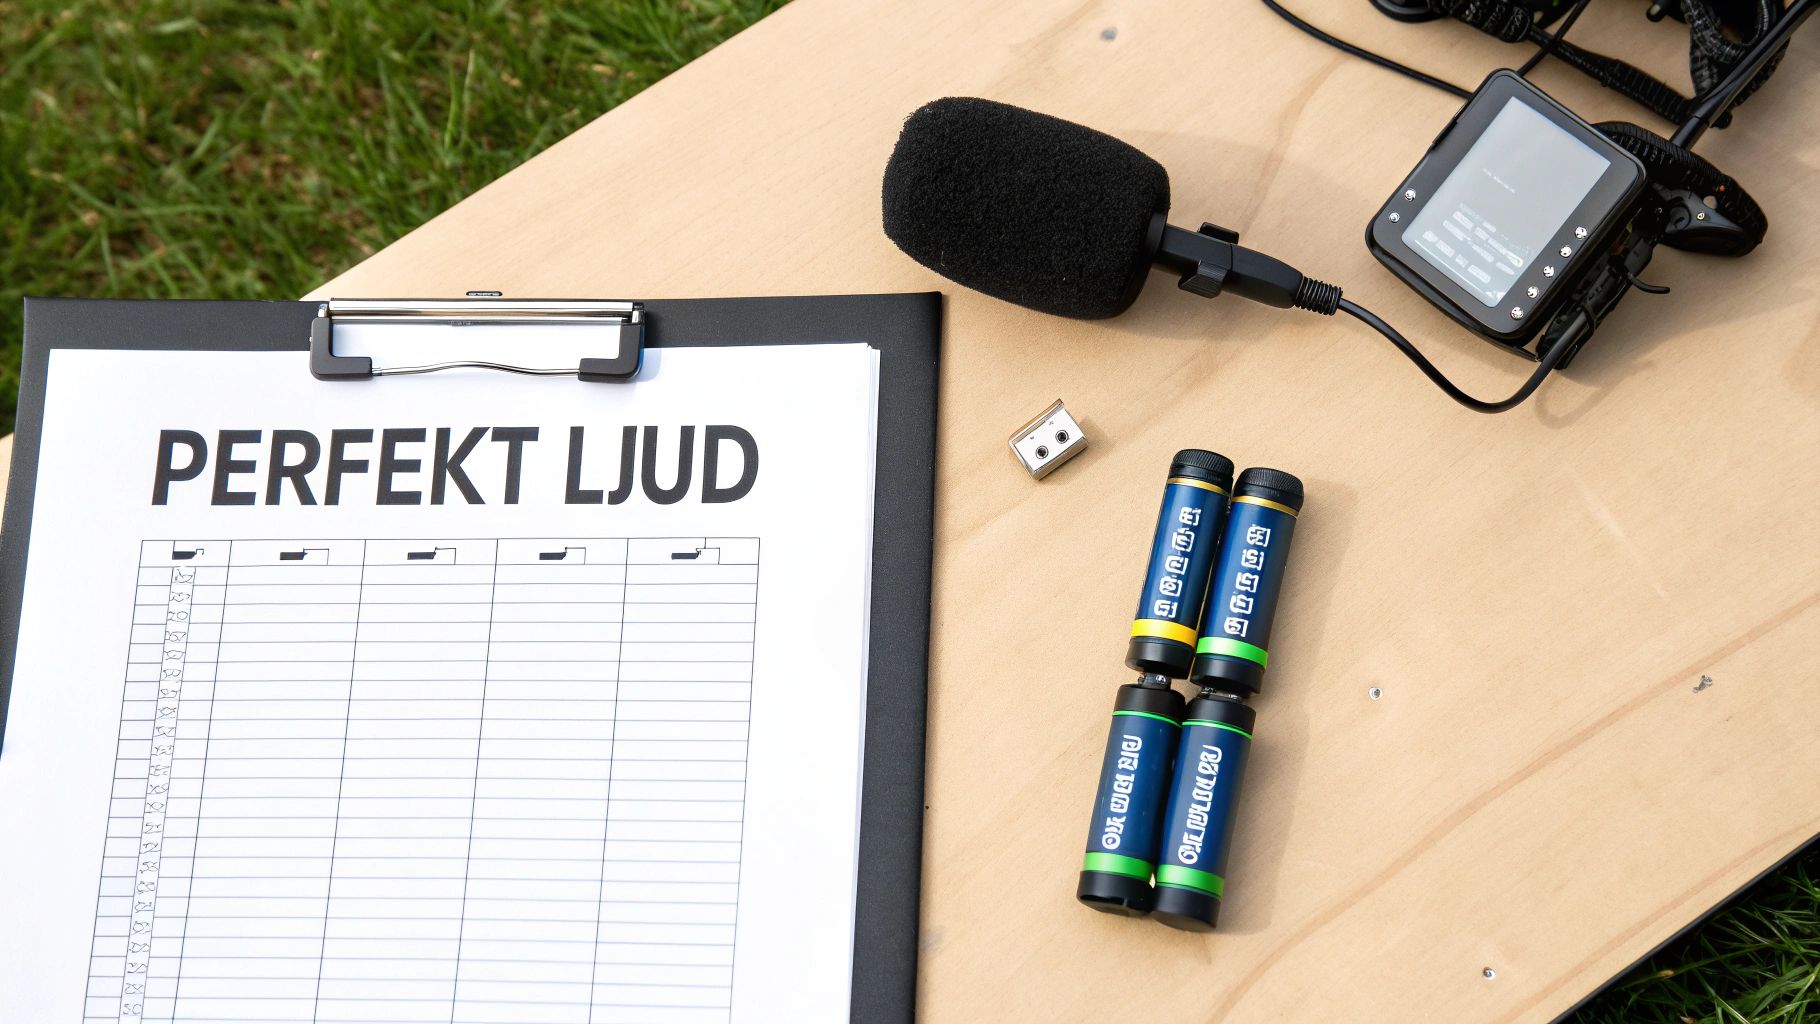
Your checklist for flawless audio, every time
Alright, we've gone through technical specs and clever placement tips. Now it's time to boil it all down into a simple but powerful checklist. Think of it as your little ritual before hitting the record button – a quick check that ensures nothing is left to chance and that your wireless lavalier delivers its best.
By establishing a fixed routine, you minimize the risk of those small, annoying mistakes that can sabotage an entire take. It's about building good habits. Then you can focus on creating great content, with the peace of mind that the audio is spot on.
Your pre-recording ritual
Go through these points before you start filming. It might take a minute, but it can save you hours of headache later.
-
Battery Check: Check the battery level on both the transmitter and the receiver. Never take a chance on there being juice left from last time. Fully charged batteries are fundamental for a strong and stable signal.
-
Cable Check: Ensure all cables are plugged in properly. Are you using the right cable for the job (TRS for the camera, TRRS/USB-C for mobile)? A slightly loose cable is a classic audio culprit.
-
Quick Headphone Test: Plug a pair of headphones into the camera or receiver. Speak in a normal tone and listen actively. Does it sound clean and clear? No hiss or strange interference?
A quick audio test is the absolute best way to find problems before they ruin your video. Think of it as your last line of defense against poor audio.
- Set Your Levels: Double-check that your audio levels are set correctly. The level meter should dance in the upper green or yellow area, but never ever hit the red. Audio that "clips" (becomes distorted) is practically impossible to save in editing.
Make this checklist a natural part of your workflow, and you've secured professional audio every time you record. It really is that simple.
Frequently Asked Questions about wireless lavaliers
Even the best guide might leave a few questions unanswered. That's why I've gathered the most common concerns about wireless lavalier microphones here, with short and direct answers so you can quickly find what you're looking for.
Can I use two lavaliers with the same camera?
Absolutely, it's a classic setup when recording an interview or a conversation between two people. The thing is, you need a system built for it, meaning one with a so-called dual receiver. This receiver is smart enough to listen to and handle signals from two different transmitters simultaneously.
Systems like the DJI Mic 2 or Rode Wireless PRO are perfect examples, as they come with two transmitters right in the box. This makes everything super easy and ensures that audio from both people is recorded on separate tracks, giving you total control during editing.
How do I protect the audio from wind?
Wind is audio's archenemy outdoors. It can completely demolish an otherwise perfect recording. The solution is actually quite simple but incredibly important: always use the included windscreen. You know, that little fuzzy ball – often called a "deadcat" – that you slip over the microphone.
The windscreen acts as a barrier that breaks up wind turbulence before it even reaches the microphone capsule. This way, wind noise is significantly dampened without making your voice sound strange.
If you're filming in gustier conditions, it might be a smart idea to get a larger and more effective windscreen designed specifically for tough conditions.
Do I need an app to connect it to my phone?
For most modern lavaliers with a USB-C or Lightning connector, no app is needed at all. They are designed to just work – "plug-and-play." You plug the receiver into the phone, and the phone's standard camera app immediately recognizes that an external microphone is connected and starts using it for audio.
However, some more advanced systems offer an optional app. This can give you extra superpowers, like adjusting the gain, turning on noise cancellation, or fine-tuning an equalizer directly on your phone. This provides even more tools to achieve that perfect sound.
Are you ready to take your audio seriously? Browse our full range of microphones and smart accessories at ActionKing. We'll help you find the perfect solution, whether you're filming with an action camera, drone, or smartphone. Visit ActionKing here.


