

Getting a high-quality microphone for your mobile is without a doubt the single biggest upgrade you can make to elevate the audio quality of your recordings. It transforms tinny and noisy audio into something clear and professional, whether you're filming a vlog, recording music, or conducting an interview.
Why an external microphone is a total game-changer for your mobile audio
Have you ever recorded a video with perfect visuals, only to discover the sound is completely ruined by wind noise or a distant, hollow echo? You're not alone. Your phone's built-in microphone is designed for one thing: making your voice clear during phone calls when the handset is held close to your mouth. It simply isn't built to capture the nuances of a voice from a distance or the rich tone of an instrument.
Sticking with the built-in mic is a bit like trying to photograph the starry sky with a mobile camera – the result ends up grainy, unclear, and doesn't do reality justice. Plugging in an external microphone for your mobile instead is like switching to a real DSLR with a fast lens. Suddenly, everything becomes sharp, clear, and full of detail.
Situations where the difference is everything
In some cases, an external microphone isn't just a slight improvement; it's absolutely essential for getting a usable result at all.
- The urban vlogger: The built-in microphone picks up all the traffic, chatter, and surrounding noise, which completely drowns out your voice. A directional microphone, on the other hand, isolates your voice and ensures you're the one being heard.
- The coffee shop interview: Two people talking, with background music and coffee machines... it quickly becomes a mess. Two wireless lavalier microphones solve this instantly, ensuring both voices are crystal clear.
- The home-recording musician: Trying to capture the warm, rich sound of an acoustic guitar with a phone's tiny microphone is virtually impossible. A good condenser microphone captures every nuance and creates a recording with depth and warmth.
The role of the microphone has been central since the early days of mobile telephony. In fact, Sweden holds a unique place in that history; as early as the 1950s, the world's first mobile phone call was made here using equipment from Ericsson and Televerket. Then, just like now, the microphone was crucial. If you want to know more, you can read about the Swedish roots and development of mobile telephony on the University of Gothenburg's website.
The point is simple: Investing in an external microphone is the most effective thing you can do to take your mobile productions from amateur level to something that actually impresses.
Understanding the most common types of mobile microphones
Choosing the right microphone for your mobile can feel like a jungle, but it's actually simpler than you think. Basically, it comes down to three different types, each created for a specific purpose. Once you understand their strengths, it becomes easy to find the perfect match for your specific recordings.
Think of it like choosing the right tool from a toolbox. You wouldn't use a hammer to saw a board, right? Similarly, you don't choose a large studio microphone when you need to move freely in front of the camera. It’s all about matching the tool to the task.
This image clearly illustrates the huge difference an external microphone makes to audio quality.
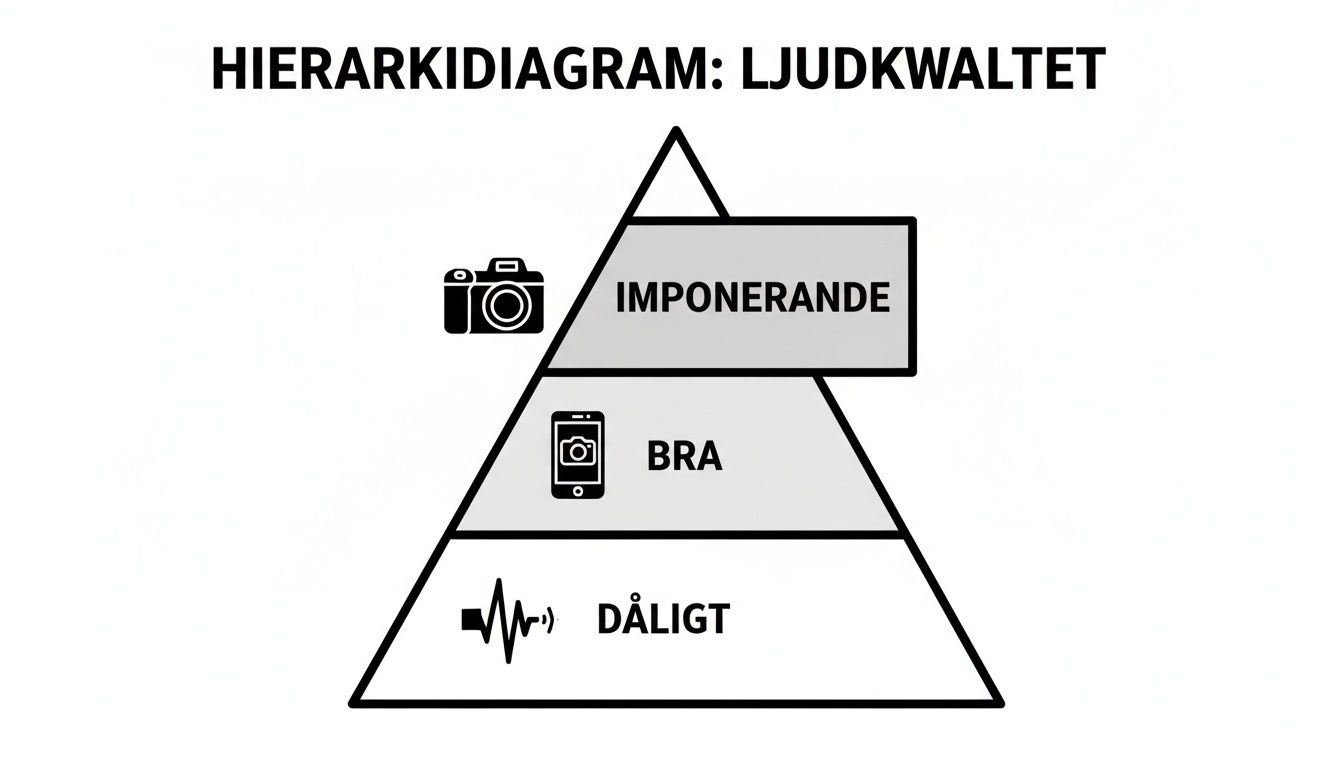
As the pyramid shows, the jump from the phone's built-in microphone to an external solution is massive. It's the step that takes your recordings from "okay" to "truly impressive."
Lavalier Microphone (Lapel Mic)
A lavalier microphone, or "lapel mic," is that small, discreet microphone you clip directly onto your clothing, close to your mouth. Its superpower is capturing clear and distinct audio from a single person, regardless of how much they move or how noisy the surroundings are.
- Perfect for: Interviews, presentations, workout videos, or vlogs where you need your hands free.
- Think of it like this: A reporter interviewing someone in a bustling square. Thanks to the lavalier, the voice is heard crystal clear while the traffic noise stays in the background.
This type is simply unbeatable for isolating a voice. If you want to dive deeper, you can read our complete guide to wireless lavalier microphones to learn everything about setup and usage.
Directional Microphone (Shotgun)
A shotgun microphone is built to capture sound from a specific direction – directly from the front – while effectively ignoring sound from the sides and rear. It is often mounted directly on the phone or on a gimbal, making it a vlogger's best friend.
A directional microphone works a bit like an audio spotlight. It illuminates and captures the sound of what you point it at, while everything else falls into the shadows.
It's perfect for creating a sense of presence and focus, providing a richer and more lifelike sound than a lavalier.
Studio Microphone (Condenser)
Condenser microphones are known for their ability to capture sound with incredible detail and warmth. They are more sensitive than other types and perform best in a controlled environment without distracting background noise, like a home studio.
- Perfect for: Recording vocals, acoustic instruments, podcasts, or professional voice-overs.
- Think of it like this: A musician wanting to record an acoustic guitar track at home. The condenser microphone captures every tiny nuance in the resonance of the strings.
Comparison of mobile microphone types
To make the choice even easier, we've put together a quick comparison. This table gives you an overview of which microphone is best suited for what.
| Microphone Type | Best For | Audio Character | Advantages |
|---|---|---|---|
| Lavalier (Lapel) | Interviews, mobile vlogging | Focused and close speech sound | Discreet, offers freedom of movement |
| Shotgun (Directional) | Vlogs, "run and gun" filming | Rich and directional sound | Effectively isolates the sound source |
| Condenser (Studio) | Music, podcasts, voice-overs | Detailed and warm sound | Highest studio-grade audio quality |
As you can see, it mostly depends on what you plan to record. A lavalier for the speaker, a shotgun for the vlogger, and a condenser microphone for the musician or podcaster. Simple!
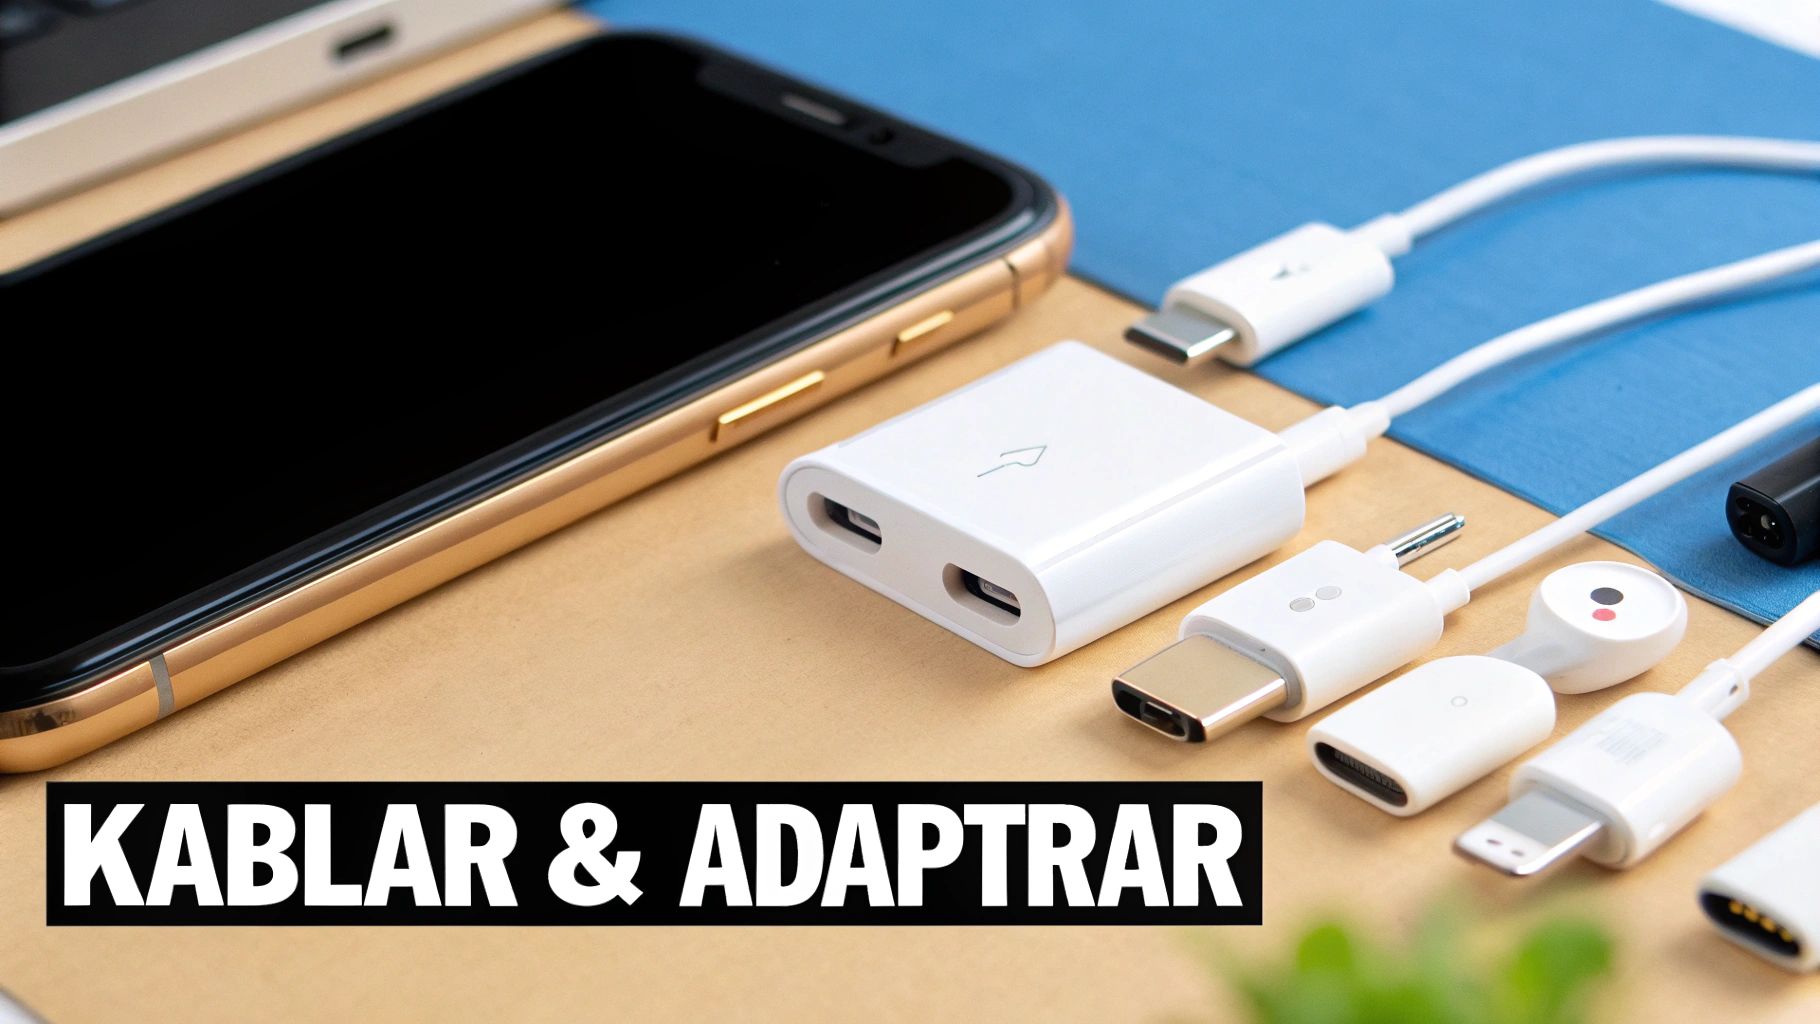
How connections and adapters work
Choosing the right microphone for your mobile is as much about connections as it is about audio quality. An incorrect cable can make the best mic completely useless, but don't worry – the jungle of connectors and adapters is actually easier to navigate than it looks.
It’s really all about understanding which port your specific phone has and why.
In the past, almost every phone had a classic 3.5 mm headphone jack. Today, it has almost entirely disappeared, replaced by two digital ports: USB-C for most Android phones (and now also newer iPhones) and Lightning for older iPhones. These ports are true multi-taskers, handling everything from charging and data transfer to audio.
The microphone has been central to telephony since day one. An interesting side note is that Sweden was Europe's most telephone-dense country as early as the 1870s. A true icon was the Ericofon, "The Cobra," which was produced in over 2.5 million copies starting in 1956. It was groundbreaking with its design where the microphone and earpiece were integrated into a single unit – an early precursor to the all-in-one device concept of today's smartphones.
TRS vs TRRS – the most common pitfall
This is where many people stumble, but it’s simple once you understand the logic. A standard microphone intended for a DSLR almost always has a TRS connector. You recognize it by the two black rings on the metal pin (Tip, Ring, Sleeve). It is designed to output stereo sound.
A mobile phone, however, needs to handle both audio out (to your headphones) and audio in (from the microphone) simultaneously. Therefore, it uses a TRRS connector with three black rings (Tip, Ring, Ring, Sleeve).
Think of it like this: plugging a TRS microphone directly into a phone is like trying to put a right-hand glove on your left hand. It simply doesn't fit because the signals end up in the wrong place. The solution? A very simple TRS to TRRS adapter.
Choose the right adapter for your phone
If your phone lacks the old 3.5 mm jack, you need an adapter that translates the audio signal to the phone's digital port.
-
For Android with USB-C: You'll need a USB-C to 3.5 mm adapter. A pro tip is to get an adapter that also has a charging port. This allows you to charge your phone while recording, which is invaluable during longer sessions. This McDodo USB-C to 3.5 mm audio adapter is a perfect example that handles both audio and fast charging (PD 60W).
-
For iPhone with Lightning: You will need a Lightning to 3.5 mm adapter. Make sure it is MFi-certified (Made for iPhone). That way, you know it's approved by Apple and guaranteed to work without issues.
-
Wireless systems – cut the cables entirely: For maximum freedom of movement, a wireless system is unbeatable. A small transmitter is connected to your microphone, and a receiver plugs directly into the phone's USB-C or Lightning port. No cable mess, just pure freedom.
Finding the right microphone for your goals
Understanding the different microphone types is a great start, but now it's time to go from theory to practice. The best microphone is rarely the most expensive one, but rather the one perfectly suited for what you're actually going to do. Let’s dive into four common situations to see which mobile microphone solves each challenge best.
Think of it like packing for a trip. You don't bring hiking boots to a beach holiday, and similarly, a large studio microphone is the wrong choice when you need to film quickly and on the go. Every situation simply requires its own equipment for the results to be truly great.
By considering your own needs, you can make a smarter choice that gives you professional audio, every time.
For the vlogger on the move
A vlogger needs a microphone that is lightweight, convenient, and above all, directional. When you're running around town, filming in a "run-and-gun" style, or talking into a camera on a gimbal, it's crucial that your voice is captured clearly – without all the surrounding chaos taking over.
Here, a compact shotgun microphone is the clear winner. You easily mount it on top of the phone or on a rig. Think of it as an audio spotlight: it focuses directly on your voice and pushes away distracting sounds from the sides.
- Why it works: It isolates your voice from traffic, crowds, and wind, providing clear and focused audio.
- Optimal setup: A shotgun microphone on a gimbal or mobile rig gives you both stable footage and professional sound in one single package.
For the interviewer who needs freedom
When recording an interview, a presentation, or a dialogue between two people, you want to capture every word crystal clear. It doesn't matter where the people are standing or how they move. Trying to solve this with a single directional microphone quickly becomes both tricky and limiting.
The solution? A wireless lavalier microphone kit. Such a system consists of two small microphones (lavaliers) that you attach to the people's clothing, connected to individual transmitters. A receiver then connects directly to your phone.
This provides total freedom of movement. People can walk around, turn away from the camera, or stand far apart, yet the sound remains perfect and present at all times.
Want to understand the benefits in depth? Read our guide on wireless microphones with Bluetooth which covers everything you need to know.
For the musician or podcaster
If your goal is to capture sound with maximum detail and warmth – whether it's vocals, an acoustic guitar, or a podcast voice – then you need a microphone built for just that. Here, a USB-C condenser microphone is unbeatable.
These microphones are designed to be extremely sensitive and capture a wide frequency range. The result is a rich and professional sound, directly to your phone. They connect easily via USB-C or Lightning and rarely require any complicated setup.
- Why it works: It captures the nuances of a voice or an instrument in a way that no other microphone type can manage.
- Optimal setup: Place the microphone on a small desk stand in a quiet room. This avoids unwanted echoes and distracting background noise.
For the action filmer and drone pilot
Filming with an action camera or drone brings its own set of audio challenges. Wind noise is the absolute biggest enemy, and you need a solution that is both durable and effective at handling it.
In this case, an external microphone with a high-quality windscreen (often called a "deadcat" or "wind muff") is a must. Some manufacturers, like DJI, have adapters that allow you to plug an external 3.5 mm microphone directly into your action camera. It provides a massive audio improvement compared to the built-in mic, especially when moving at high speeds.
Getting the most out of your new microphone
Unboxing a new microphone for your mobile is always exciting, but the magic only happens when you plug it in and start using it correctly. Good equipment is one thing, but understanding the technique behind it is what truly elevates your recordings from "okay" to "wow, how did you get such good sound?".
It's about getting the small details right that make a big difference. With a few simple tricks, you can avoid the most common beginner pitfalls and capture crystal-clear audio every time.
Basic installation and settings
Before you even think about pressing the record button, take a minute to ensure everything is set up correctly. That one minute can save your entire recording.
- Plug it in properly: Double-check that the microphone is fully inserted into the phone or your adapter. A slight gap can create distracting crackles or, in the worst case, result in no sound being recorded at all.
- Select the right audio source: Open your recording app and dive into the settings. Ensure the app is actually set to use your new external microphone instead of the phone's built-in one.
- Test the audio level: Do a quick test recording. Speak in a normal tone and then listen back with headphones. Does it sound clear and distinct? Is the sound too loud and "clipping" (distortion), or is it so low you can barely hear it? Adjust as needed.
Placement is everything for perfect sound
Where you place the microphone has a huge impact on audio quality. Different microphone types perform best in different locations.
The Lavalier (Lapel Mic): The classic pitfall is attaching it too close to the mouth or on a loose collar that rustles against the mic.
For best results, place the lavalier on the sternum (chest bone), about 15–20 cm from the mouth. Attach it to a stable part of the clothing, like the edge of a t-shirt or a button placket. This avoids distracting noise from moving fabric.
The Shotgun Microphone (Directional): Its superpower is focusing on sound directly in front of it. Ensure it is always aimed straight at your mouth. Avoid pointing it toward bare walls or windows, as this easily creates unwanted echoes.
Skip the standard app – use professional tools
The phone's built-in video app is convenient, but it rarely gives you full control over the audio. To truly master your recordings, you need an app that lets you adjust the audio manually.
- For iOS: ProMovie Recorder and FiLMiC Pro are two favorites that give you total control. You can set gain levels, see real-time audio meters, and manually select which microphone to use.
- For Android: Open Camera is a superb and free alternative with manual audio control. If you want even more features, FiLMiC Pro is a great choice, also available for Android.
The development of mobile phones and accessories has moved at lightning speed. In the 1980s, the mobile phone was a luxury tool for business people, but after a price drop of up to 50% around 1992, it quickly became everyone's property. By 2011, there were 116 mobile subscriptions per 100 inhabitants in Sweden, showing how central the mobile phone has become. Read more about the incredible history of the mobile phone in Sweden on Popularhistoria.se.
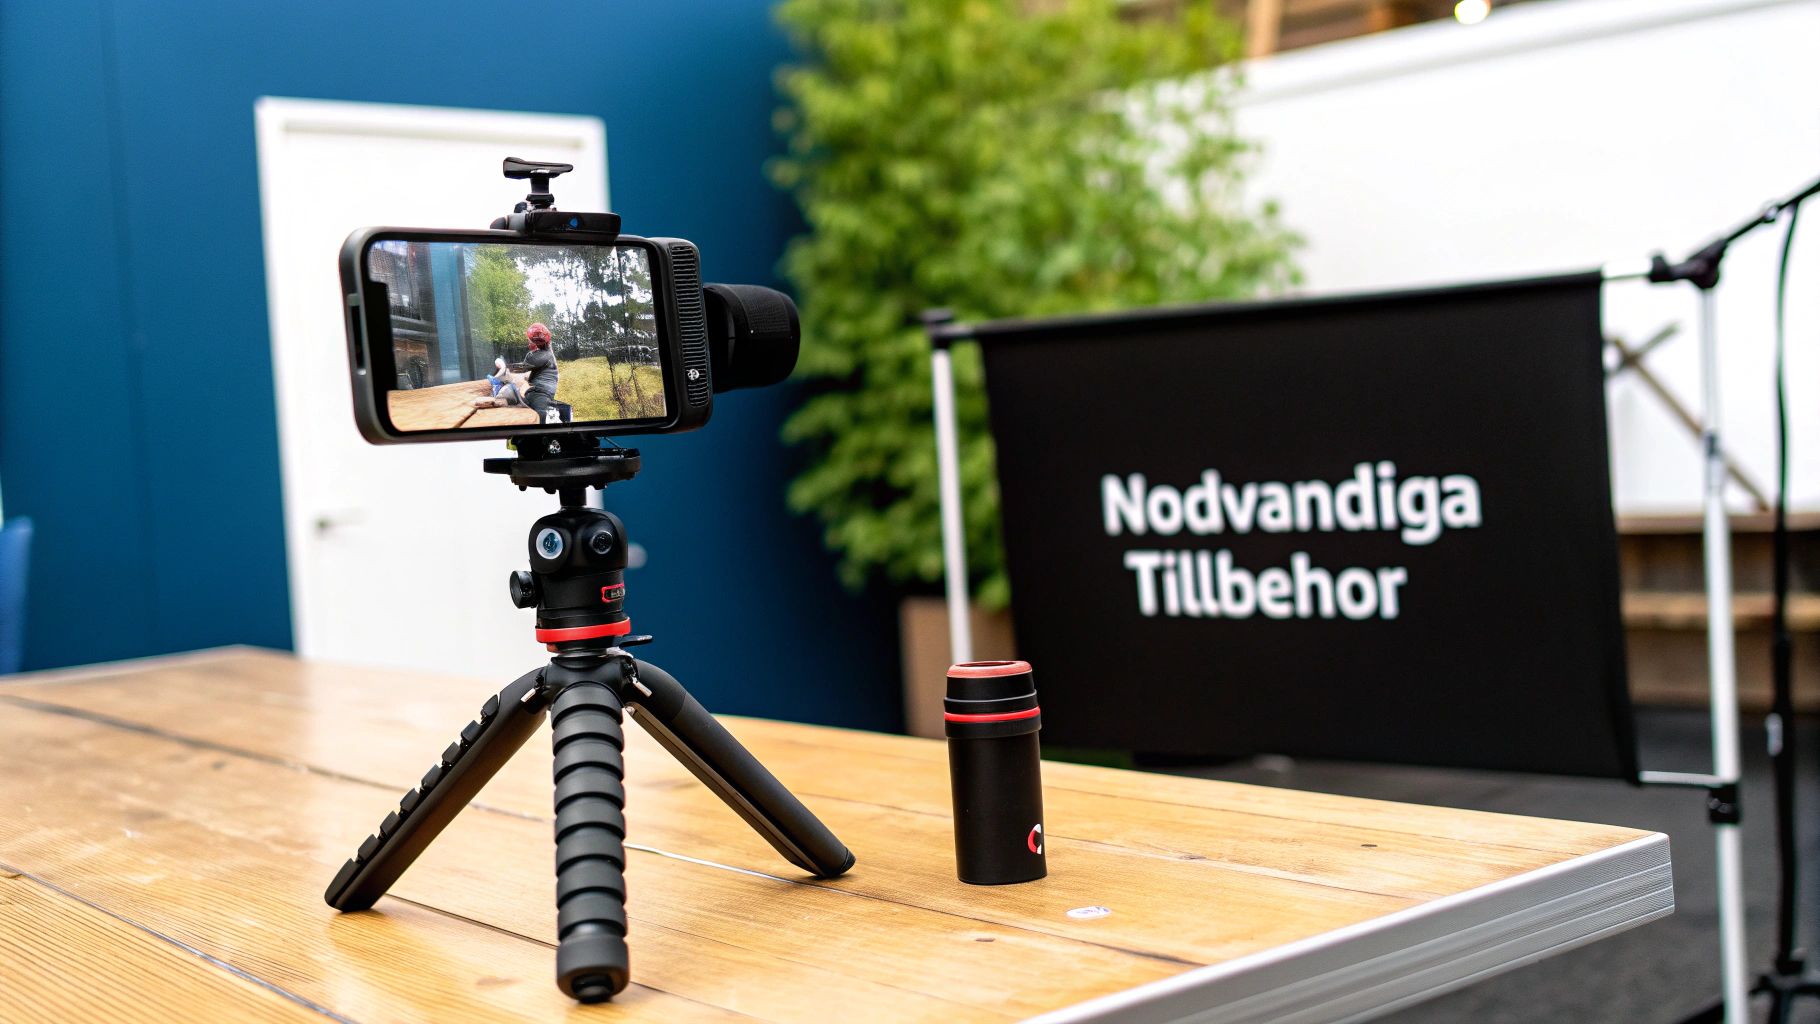
Accessories that maximize your audio quality
A good microphone for your mobile is a great start, but with the right accessories, you can elevate your recordings from good to truly professional. Imagine you've bought a sports car – sure, it's fast as it is, but it's only with the right tires and settings that you can truly own the race track.
The same logic applies to your audio gear. The little extra gadgets aren't just luxuries; they often solve the most annoying problems when you're out filming. With a well-thought-out setup, you can focus on creating instead of struggling with the technology.
Build a professional mobile rig
A mobile rig is a smart frame you attach the phone to. Suddenly, you have multiple mounts and threads that open up a whole new world of possibilities. With a rig, you can easily mount a microphone, lighting, and other accessories simultaneously.
- The result? You get a complete and portable mini recording studio. Perfect for vloggers and journalists who need to be flexible yet still want high production quality.
Master stability with tripods and gimbals
Handheld recordings can work for quick clips, but for an interview or static shots, a tripod is indispensable. It removes shakes instantly and provides a much more professional impression.
A gimbal (image stabilizer) takes it a step further, giving you silky-smooth, fluid shots even when you're moving. Many modern gimbals also have built-in mounts, making it easy to combine stable video with perfect audio from your shotgun microphone.
Don’t forget this: Stability isn't just about the visuals. A shaky recording almost always creates unwanted handling noise from your hands that the microphone is guaranteed to pick up. A tripod or gimbal solves both problems at once.
The small details that make the big difference
Sometimes it's the smallest items that have the biggest impact on the end result. Don't forget these lifesavers:
- Windscreens: An absolute must for any outdoor recording. A simple foam cover dampens light breeze, but if it's really windy, a "deadcat" (that little furry ball) is what you need. Read all about how to choose the right microphone windscreen for improved audio in our guide.
- High-quality adapters: Don't skimp here. A poor adapter can create distracting noise, lose connection, or simply stop working exactly when you need it most.
- Extension cables: Give you the freedom to place the microphone exactly where the sound is best, even if it's a distance from the phone. Perfect for interviews.
Frequently Asked Questions about mobile microphones
When you start digging into the world of external microphones, a bunch of questions usually pop up. That’s perfectly normal! To make it a bit easier for you, we've gathered answers to the most common queries, so you can quickly overcome any obstacles and feel confident with your new mobile microphone.
Can I use my mobile microphone with my computer?
Absolutely, it usually works great, but you will almost certainly need an adapter. The thing is, many mobile microphones use a TRRS connector (the one with three black rings), while computers usually have separate jacks for headphones and microphones, which require a TRS connector (two rings).
The solution is a simple splitter cable that divides the signal. It takes your TRRS connector and converts it into two separate TRS connectors – one for the microphone and one for headphones. Super easy!
Why isn't my microphone working with my iPhone?
This is a classic issue, and it almost always involves the Lightning port. If your microphone has a standard 3.5 mm plug, you need Apple's official Lightning to 3.5 mm adapter. Don't buy a cheap knock-off – adapters that are not MFi-certified (Made for iPhone) can glitch or stop working entirely after an iOS update.
Also, double-check that the app you're recording with has actually selected the external microphone as the audio source. Sometimes it insists on using the phone's built-in one.
A quick tip: Go into the phone's settings and check the app permissions. Ensure your video or audio app has been granted permission to use the microphone. If everything looks correct, a simple restart of the phone can often solve even the most stubborn connection issues.
How do I get rid of noise and echo in my recordings?
Ah, the two most common audio enemies. But stay calm, there are simple tricks to use.
- Noise: This can come from wind outdoors or distracting electronics indoors. The solution? Always use a windscreen (that little fluffy ball) when you're outside. Also, ensure all cables are firmly connected and try not to have the microphone right next to a lot of other electronics.
- Echo: This occurs when sound bounces off hard, bare surfaces like walls and floors. Try recording in a room with lots of textiles – a thick rug, curtains, or even a sofa works wonders. They soak up the sound waves and give you a much cleaner and more professional sound.
Do you feel it's time to upgrade? At ActionKing, you'll find everything from great microphones to all those smart accessories that truly elevate your recordings. Check out and explore our full range here.


