

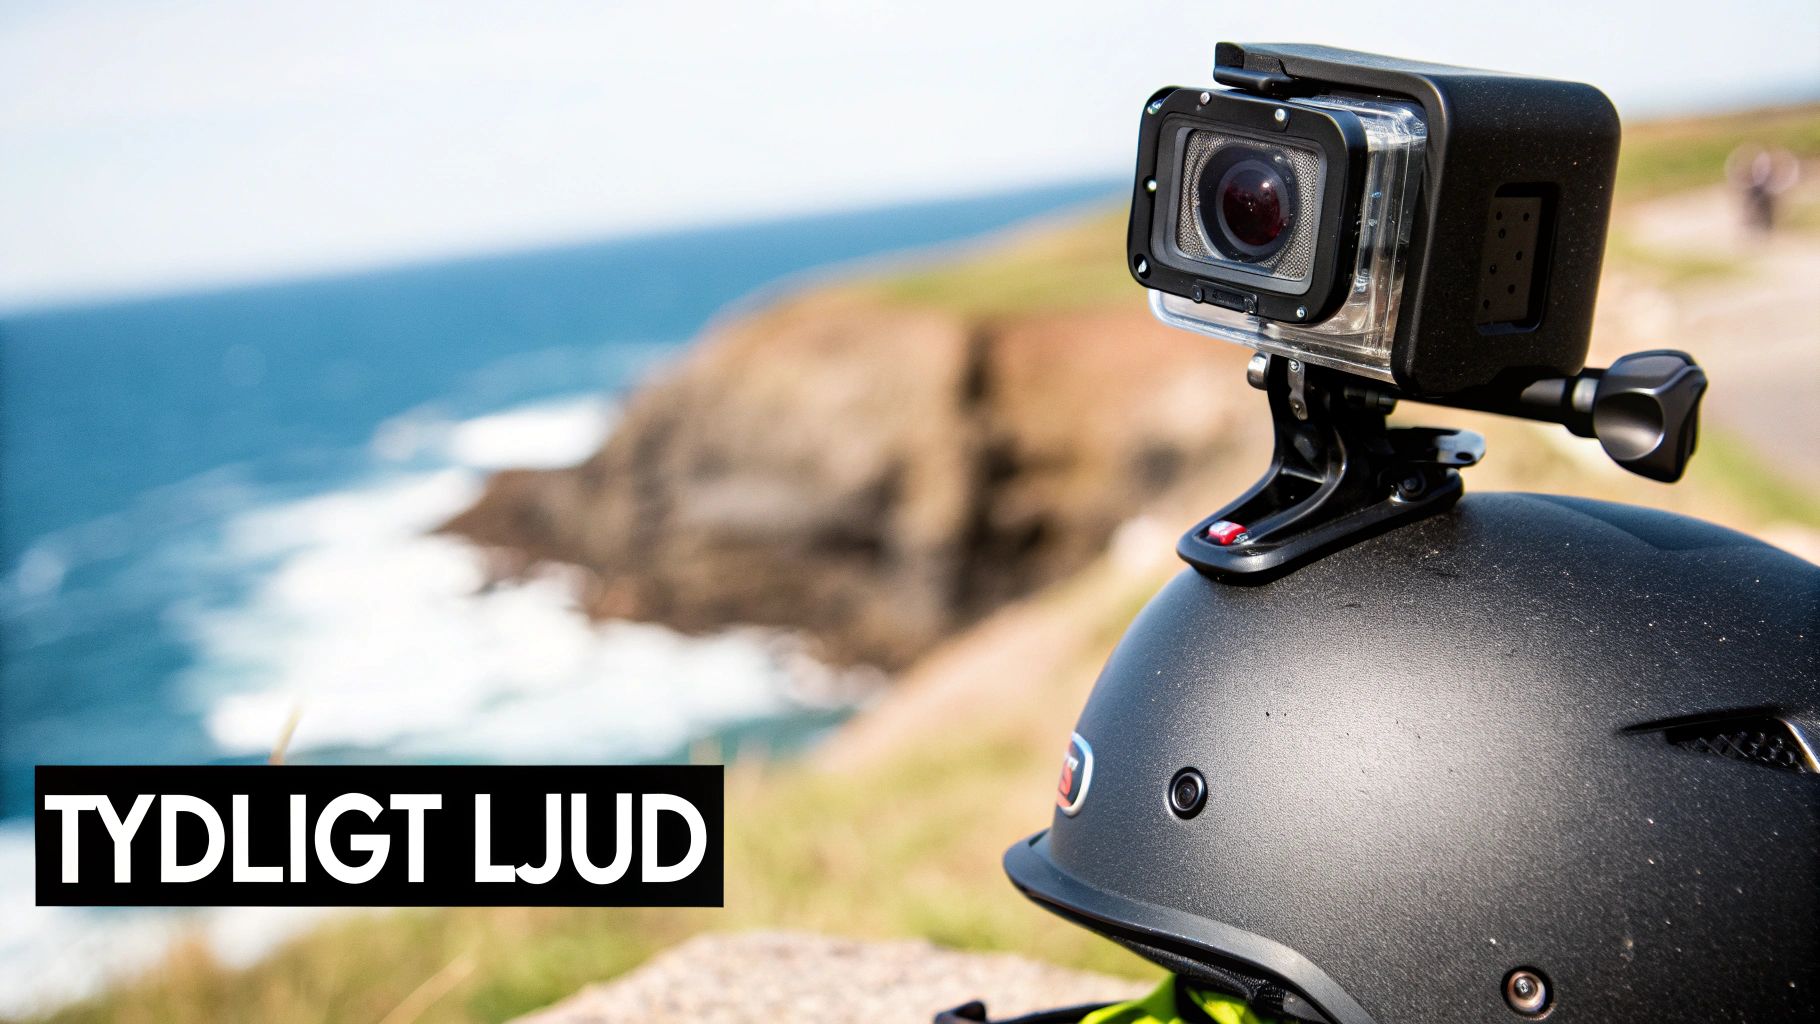
It's easy to assume that wind noise and tinny audio are just things you have to live with when filming with an action camera. But the truth is, you don't have to settle for that. The key is daring to step away from the built-in microphone. With the right external equipment and a few simple tricks, you can capture audio that is just as awesome as your video.
From Wind Noise to Crystal Clear Audio
Action cameras are built to handle tough conditions. They are small, rugged, and waterproof—qualities that make them unbeatable for capturing cool footage, but which simultaneously create major challenges for sound.
The built-in microphone is often trapped behind waterproof membranes. This protects the camera, but it also muffles the sound and gives it 그 typical "tinny" quality. Additionally, it is extremely sensitive to wind, which can quickly turn an exciting recording into unusable noise. Understanding this fundamental limitation is the first step toward being able to record audio with truly high quality.
Why Is Good Audio So Important?
The image shows what is happening, but it's the sound that conveys the feeling. Imagine a clip from a mountain bike ride down a rough trail. It's the sound of the tires against the gravel, your heavy breathing, and the birds chirping in the forest that create that sense of presence that video alone can never match.
Truly great audio can:
- Enhance the feeling: The sound of skis carving through fresh powder or waves hitting a surfboard makes the experience so much more intense for the viewer.
- Provide context: Clear speech, such as when you're explaining something to the camera, is absolutely crucial for vlogs and instructional videos.
- Create a professional impression: Bad audio screams amateur production. Clean and clear sound immediately raises the quality and credibility of everything you create.
The challenge isn't just about capturing sound, but capturing the right sound. This means you need to isolate the main sound source—whether it's your voice, an engine, or nature sounds—while minimizing distractions like wind and rattling.
Enemy Number One: Wind Noise
For anyone filming outdoors at speed, wind is the greatest enemy. Even at fairly low speeds, wind noise can totally drown out everything else. The camera's built-in wind reduction can help slightly, but it's almost never enough when it really matters.
The absolute most effective solution is a physical windscreen mounted on an external microphone. Investing in a good windscreen for your GoPro is often the single most important step you can take to dramatically improve your audio quality. It's a small investment that yields a massive return.
Choosing the Right Microphone and Accessories
To achieve truly great audio, your choice of equipment is critical. Let's be honest: the built-in microphone on your action camera is built to take a beating—not to capture crystal-clear sound. An external microphone is therefore not a luxury; it's a necessity if you want people to actually listen.
But which microphone should you choose? The answer depends entirely on what and how you film. There is no magic microphone that is best at everything; it's about matching the right tool to the right situation to capture exactly the sound you're after.
Compare Different Microphone Types
To make the choice a bit easier, we've put together a quick overview of the most common microphone types that work great with action cameras. Think about how you most often use your camera and see which one fits best.
Here is an overview to help you choose the right microphone based on the recording situation and desired result.
| Microphone Type | Best For | Pros | Cons |
|---|---|---|---|
| Shotgun (Directional) | Vlogging, interviews, general outdoor use | Focuses sound from the front and dampens distracting noise from the sides. | Can be a bit bulky to mount and usually requires a substantial windscreen. |
| Lavalier (Lapel) | Clear speech, instructional videos, motorsports | Placed close to the mouth for crystal-clear audio and minimal background noise. | Requires some cable management and is less effective at capturing ambient sound. |
| Stereo Microphone | Nature scenes, concerts, environments with lots of sound | Captures a wide and rich soundstage that gives a strong sense of presence. | Picks up all sound, including disturbances like wind and noise. |
For those vlogging and talking directly into the camera, a shotgun microphone is almost always the best choice. It mounts easily on the camera and points forward, ensuring your voice is captured clearly while much of the ambient noise is filtered out.
Are you going to be narrating during a motorcycle ride or giving instructions on the ski slopes? Then a lavalier microphone, also known as a lapel mic, is unbeatable. If you place it inside the helmet, close to your mouth, you isolate your voice perfectly from both wind noise and engine sound. If you want to dive deeper into this topic, check out our complete guide on choosing the right wireless lapel mic and microphone.
Don't Forget the Essential Accessories
A good microphone is a big step forward, but it's only half the battle. To make everything work smoothly and produce a professional result, you need a few accessories that are just as important.
Skimping on accessories is like buying a sports car but using cheap tires. You will never get the equipment's full potential without the right supporting components.
Here are the three most important pieces of gear you need to know about, besides the microphone itself:
- Microphone Adapter: Most action cameras do not have a standard 3.5mm audio input. An adapter, usually from USB-C to 3.5mm, is therefore absolutely necessary to even be able to plug in an external microphone.
- Windscreen ('Deadcat'): This is your absolute best friend when filming outdoors. A furry windscreen that you slide over the microphone is by far the most effective way to get rid of that terrible wind noise that can ruin an entire recording.
- Mounting Solutions: To avoid distracting noise from vibrations, the microphone must be securely attached. Use a camera housing with extra mounts or a dedicated rig to ensure the mic stays put and doesn't rattle against the camera at the slightest movement.
Getting the Settings Right – From Cable to Camera
Having good gear is only half the job. The real magic happens when you connect everything correctly and dive into the camera's settings. A loose cable or a missed setting can be the difference between crisp audio and an unusable recording. But don't worry, it's simpler than it sounds once you know what to look for.
The first thing you need to do is physically connect your external microphone to the camera, which almost always requires an adapter. Take the time to ensure everything is properly seated. A loose connection is one of the most common culprits behind crackling and interference.
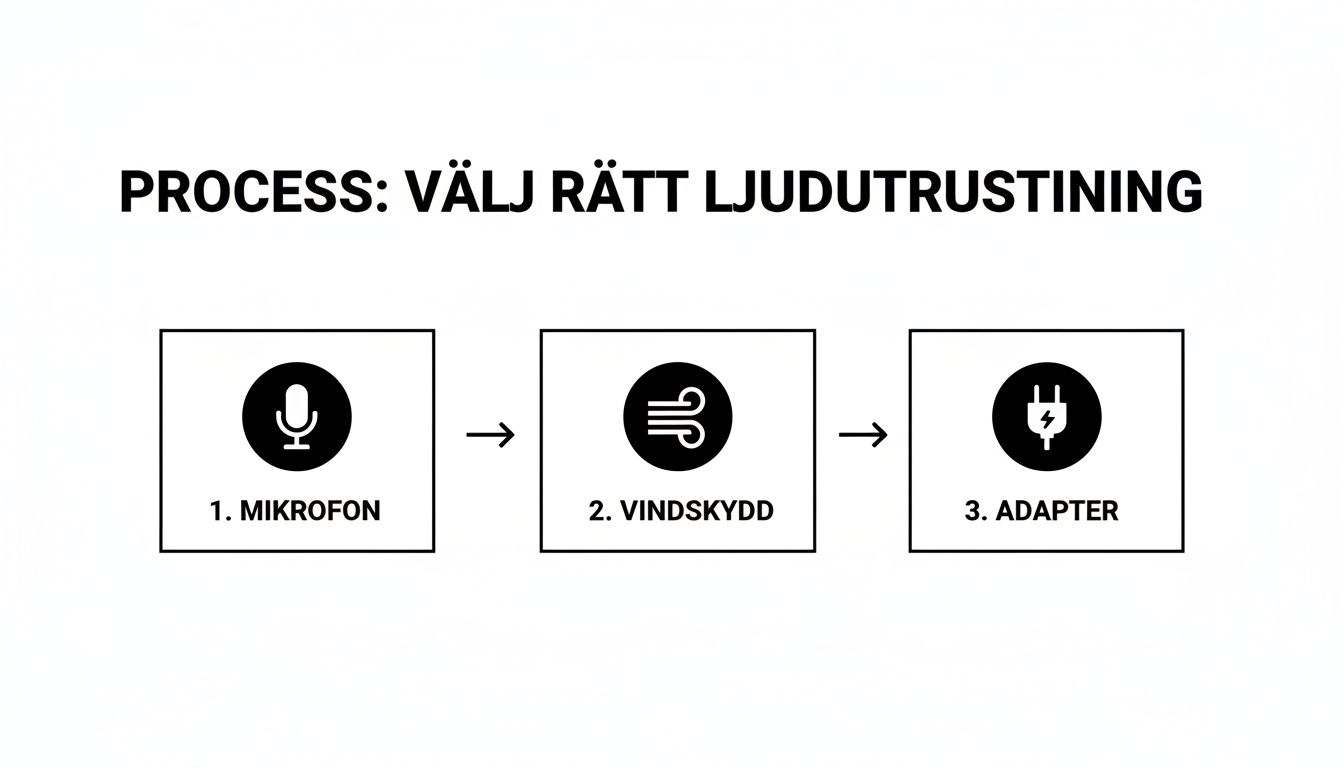
As the image shows, good audio is a system where all parts—microphone, windscreen, and adapter—must work together.
Dive into the Camera's Audio Menus
Once everything is plugged in, it's time to head into the camera's audio settings. This is a crucial step to get audio that actually sounds good and doesn't sound like you're talking into a tin can. Don't ignore the menus—this is where you take control.
Here are the settings you'll most often encounter:
- Audio Input: This is the most important one. You must tell the camera to listen to your external microphone instead of the built-in one. Many people miss this and don't understand why the audio is still poor. Look for an option like "Standard Mic" or similar.
- Wind Reduction: A digital feature that can help dampen low-frequency noise from the wind. However, it's no magic solution and absolutely does not replace a real physical windscreen (a "deadcat"). See it more as a supplement—turn it on if it's windy, but rely primarily on your physical protection.
- Audio Level/Gain: Adjusts the microphone's sensitivity. Too low a level forces you to boost the volume in editing, which brings up noise. Too high a level results in the audio "clipping" (digital distortion), which is virtually impossible to fix afterward. Do a quick test and aim for audio peaks around -6dB to -12dB.
The absolute best habit you can develop is to do a short test recording. Speak in a normal tone for 30 seconds, play back the clip, and listen with headphones. It takes less than a minute and can save an entire day's filming from going to waste.
Last but not least, secure your cables. Use some tape or a small cable tie to attach cords so they don't flap in the wind or hit the camera housing. Details like a correctly mounted GoPro Microphone Adapter Pro 3.5mm can be the deciding factor in whether your audio recording is a success or a disappointment.
Pro Tips for Field Recording
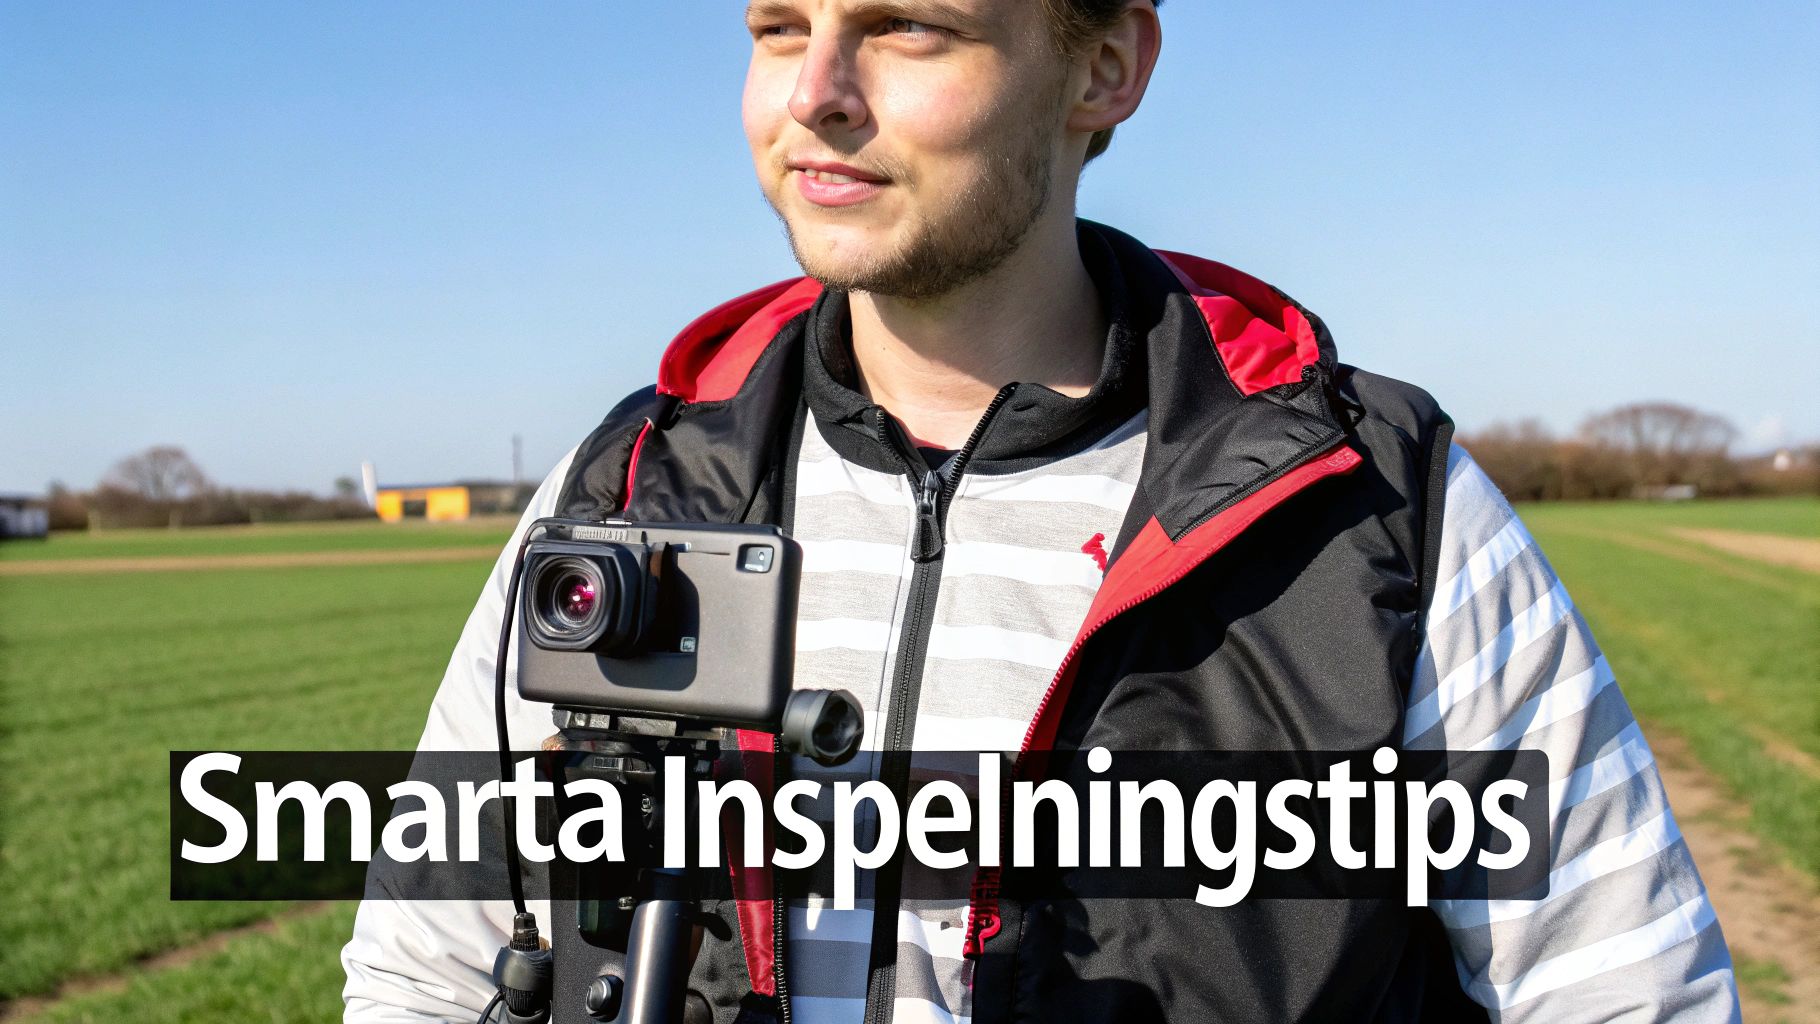
When you're out there with the camera in hand, it's often the small tricks that make the big difference. Succeeding with audio recording in real-world situations is as much about smart thinking as it is about technical equipment. The first thing you should always consider is where you place the microphone.
The rule is simple: get as close to the sound source as possible. Are you vlogging? Make sure the microphone points straight at your mouth. Want to capture the raw engine sound of a motorcycle instead? Then the mic should be mounted closer to the engine, but protected from the wind. The closer you are, the less distracting background noise will end up in your recording.
Mastering Wind and Distracting Cables
Wind is the worst enemy of outdoor audio recording. There's no excuse—always use a furry windscreen, a so-called "deadcat," on your microphone. It's not an extra luxury, but an absolute necessity to avoid that booming roar that totally ruins an otherwise perfect clip.
Another common culprit is cables hitting the camera housing, tripod, or your clothes. Secure all cords with a small piece of tape or run them inside your jacket. It's a simple trick that saves you from those annoying scratching sounds that are almost impossible to remove in post-production.
Before you hit the record button for that important shot, take a minute to do a quick audio test. Record for 15 seconds while talking or letting the sound source be heard, and then listen in headphones. That one minute can save you hours of frustration in editing.
The Pro Trick That Elevates Your Audio: Ambience
Here's a tip straight from the pros: always record about 30 seconds of "silence" every time you change environments. This is called ambience or room tone. It's not completely silent, of course; you're capturing the unique, subtle background sound of the location—a slight rustle from the trees, distant city murmur, or the hum of a refrigerator.
This short recording is worth its weight in gold during editing. You can use it to:
- Fill in silent gaps: When you cut out an "um" or a pause in your speech, insert the ambient sound to avoid an unnatural, dead silence.
- Smooth out transitions: It creates a smoother and more professional audio landscape between different clips from the same location.
Capturing authentic sound is becoming increasingly important, even for large organizations. As an example, the City of Malmö invested a total of 485,000 SEK in a sound identity built on field recordings. This truly shows how highly authentic, high-quality audio is valued. You can read more about Malmö's unique sound project on SVT.se.
Post-Processing Audio for a Perfect Result
Getting perfect audio directly during recording is obviously the goal, but the real magic is often created in the edit. You could say that recording is only half the job. With a few simple adjustments in your video editing software, you can transform decent audio into something that truly elevates your entire film.
The very first thing I usually do is level out the audio volumes. Use a function called normalization to ensure everything important, like dialogue, is heard clearly without the viewer constantly needing to adjust the volume. This provides a much more comfortable and professional experience from start to finish.
Sculpting Your Sound with EQ and Noise Reduction
Once the levels feel balanced and nice, it's time to start shaping the soundscape itself with an Equalizer (EQ). A classic problem with action cameras is dull, low-frequency rumble from wind or vibrations. With an EQ, you can quickly and easily dampen these bass frequencies and get a significantly cleaner sound immediately.
- Remove rumble: Lower frequencies below 80–100 Hz. This is a super simple trick that cleans up a lot of distracting noise.
- Highlight voices: Give speech a small boost in the mid-range, around 1–3 kHz, to make it clearer and easier to understand.
The goal isn't for the audio to sound artificial, but to gently remove what's distracting and amplify what's actually important. When it comes to audio editing, less is often more.
Almost all modern editing software, like DaVinci Resolve or Premiere Pro, has excellent tools for noise reduction. Use them with finesse to clean up stubborn wind noise or other hiss, but be careful not to overdo it—otherwise, the audio can quickly sound thin and metallic.
Handling audio this way is not only important for new films, but also for preserving and rescuing older recordings. In Sweden, there are enormous sound archives, where, for instance, the Institute for Language and Folklore (Isof) stores an incredible 25,000 recording hours. This truly demonstrates the value of being able to process and make audio accessible for the future. To get the best possible starting point, it is also essential to begin with a good camera for YouTube.
Troubleshooting: Common Audio Problems and How to Solve Them
Even with the best equipment, you can sometimes run into trouble. Audio is, after all, a sensitive part of filmmaking. Here are some quick solutions to the most common problems that usually pop up when working with audio and action cameras.
Why isn't my external microphone working?
This is probably the most common question of all. You've plugged in a nice external microphone, but the audio is still tinny and distant. It's almost always due to one of two things.
The first culprit is often the waterproof camera housing. If the camera is in its fully sealed shell, the microphone is physically blocked, and the sound has nowhere to go. The solution is simple: switch to a so-called "skeleton case," a shell with cutouts for ports and microphones.
The second mistake is a simple setting. Most cameras do not automatically switch audio sources. You must go into the menu yourself and manually select that the camera should use the external microphone instead of the built-in one. Don't forget that!
How do I get rid of wind noise?
Capturing good audio outdoors is a challenge, and wind is enemy number one. The booming, rumbling sound can ruin the best shot.
The absolute most effective solution is a physical furry windscreen, often called a "deadcat" or "wind muff." It creates a protective, still layer of air around the microphone that stops the wind before it can create noise.
Many cameras have built-in digital wind reduction. This can be a good supplement, but it should never be seen as a replacement for a real windscreen. Think of it as a last resort, not the primary solution.
To find the right accessories and get more tips to take your films to the next level, check us out at ActionKing. We have everything you need to succeed.


